Cut Basics
This second article will develop a range of methods we typically use to help students achieve better tree felling accuracy not all of them will work for everyone.
The basic cuts required to fell a tree are a directional sink and a back cut.
- The directional sink is formed with two cuts that meet, it has an open or angled face around 55-60 degrees and a flat base, ideally, the sink extends to 20-25% of the tree diameter. It is formed at 90 degrees to the felling direction.
- The second is a back cut which severs fibres to leave a parallel strip of uncut material – the hinge that provides the strength and stability as the tree falls to the ground.
Later articles will develop the detail of the specialist cuts. These methods for building accuracy can be reviewed and applied at any stage of learning and perfecting these cuts.
Sink formation – felling direction, getting a steep angle and avoiding over cutting
There’s a lot going on with a sink cut, yet it seems so simple. It determines felling direction, and can impact on control as the tree falls and reaches the ground.
Aiming the tree to fall in a particular direction becomes more important as the tree canopy gets tighter and there are obstacles to avoid. Use of the chainsaws felling lines or sights on the starter and engine top cover is the easiest method and being aware of any tendency to look in one direction only to allow the saw to swing around (usually to the right) to actually direct it several degrees off.
Selecting a focal point in the distance and inserting a stick into the foreground can make the desired direction more prominent from the crouched felling body position.
It’s worth looking into the felling site as detailed in the Husqvarna advanced felling manual as it shows this line would project to the top of a long thin triangle the apex being around 15-18m away, so this can impact the direction the tree falls depending on its height.
We sometimes see students insert a felling lever into the sink to check on directional accuracy, however, it’s tricky to make significant changes at this point.
Avoiding overcutting and getting the right angle is often a problem. Sink angles of 45 degrees were the norm to be increased or decreased in response to either slopes or obstacles in the path of the falling tree. Now we teach a steeper angle to say 55-60 degrees as this offers a couple of main benefits.
- The steeper angle prevents overcutting beyond 20-25% of the diameter
- Better visibility to ensure the two cuts actually meets
- Better visibility of the felling cut
- Tree more likely to stay attached on contact with the ground
Visual aids - sticks
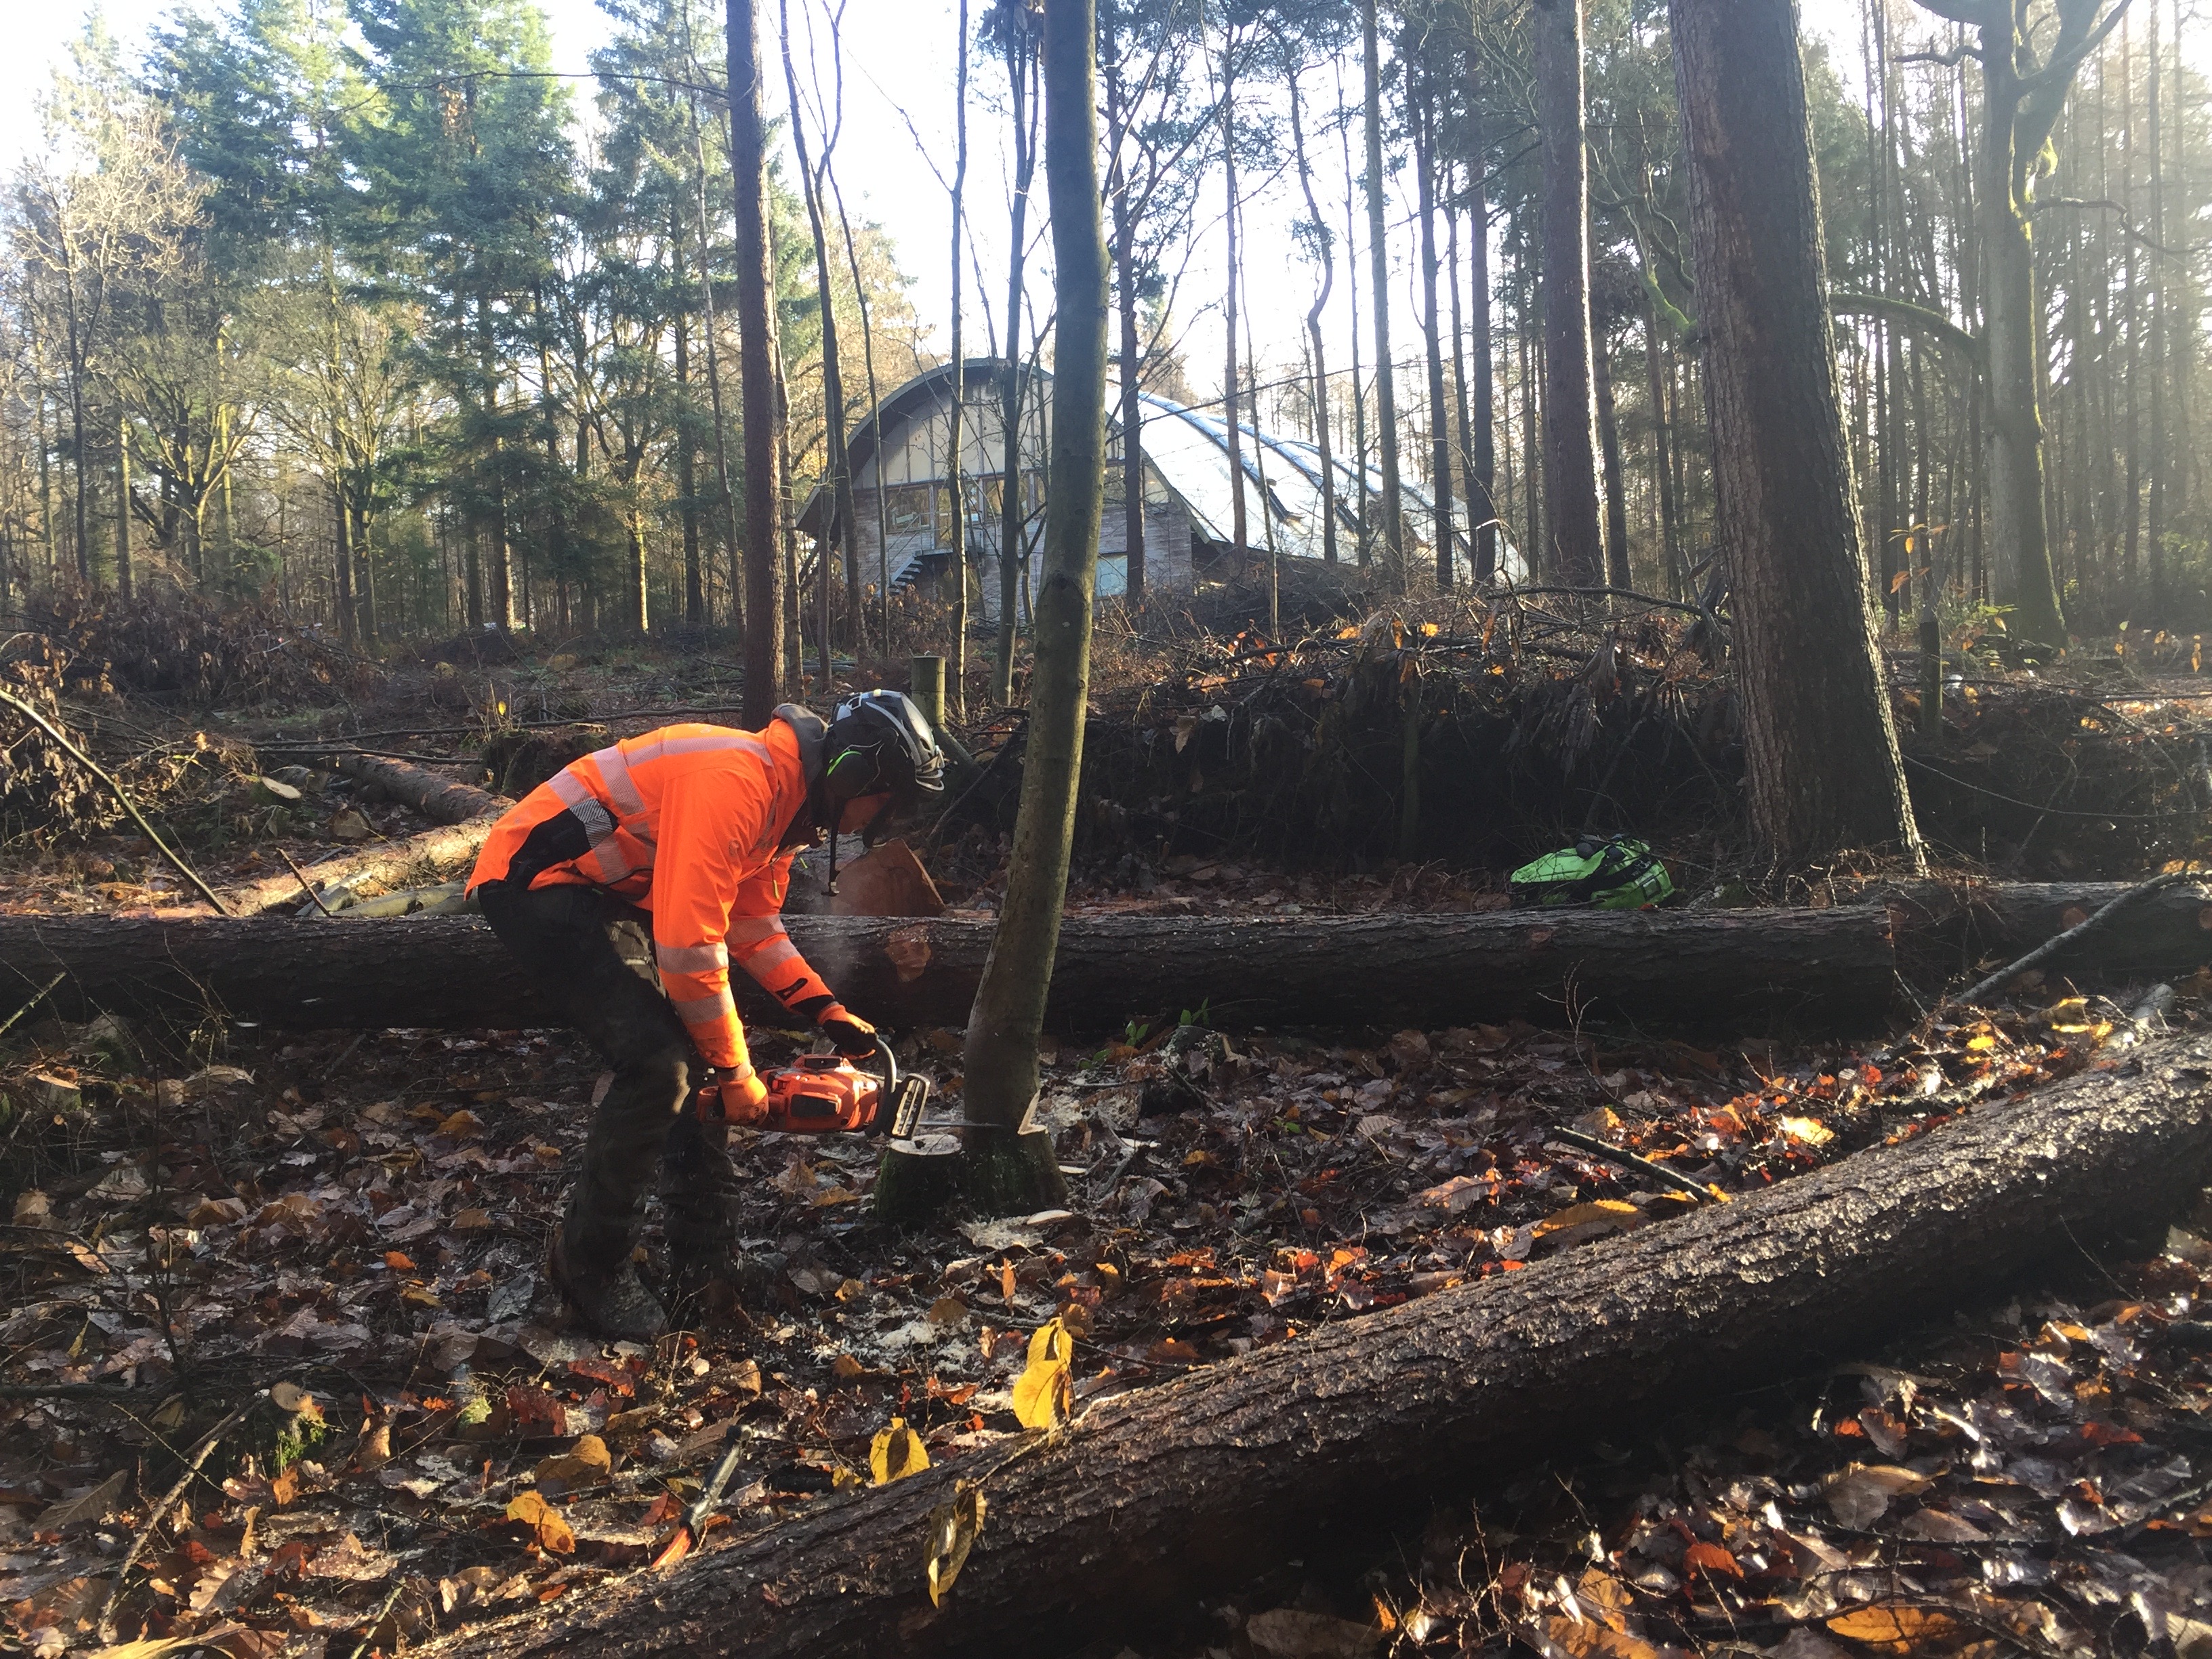
Practice on its own is a great way to improve accuracy, but if you don’t know where your saw is in relation to where you intend to cut (or indeed, you don’t know where to cut), then the felling simulator is only part of the story. Sticks are one way to help here, I first saw this early in my assessing career and, at the time it seemed a little ridiculous, as it was small diameter garden cane with blobs of clay to prevent movement, used by a group of Plumpton Students at the East Sussex National Estate. In our photo, the sticks have been sprayed with tree marker paint for even greater clarity.
The idea here is that after a sink of the correct dimensions is cut in the right felling direction a straight stick placed at the back of the sink can help students to see the position of that sink through the entire felling process, making it much more likely that they retain an adequate hinge, reasonably parallel and with the back cut within the right height range.
If you use a stick, remember it’s a method to help build accuracy and like crutches you want to be able to walk alone eventually. If you use a stick please ensure;
- It’s straight – hazel wands are ideal
- You have thought about a stick before the felling cuts commence
- You check it’s position carefully throughout the fell
- You think about the positioning clues it gives you for when the stick is gone….
Visual aids - whiteboards
We introduce cuts in the workshop environment by drawing them on a whiteboard in the sequence they are done on a tree showing different elevations (side and sometimes rear) and a birds-eye view or plan view. Students can then copy or photograph the board to assist in learning. Previously cut stumps are also used to see these ideas in application. Later on, we may add layers of detail in terms of particular points to watch out for, but these drawings are usually on display for the duration of our course.
Breakdown the cuts - foundations
A housebuilder pays attention to the setting-out and foundations, as from this, accuracy in the walls will be easily achieved. Applied to tree felling, breaking down felling cuts and thinking about de-buttressing as part of our foundations is a good analogy, and can be minimal e.g. simply cleaning the sides of the tree or more comprehensive 360-degree crisp level platform. Of course, there are situations where buttress cuts would be ill-advised, such as suspected or actual decay.
- Check for signs of decay – avoid de-buttressing if decay present
- If you can’t see the bark/cut area the bark needs to be cleaned, shave off 5-10mm
- Even better place these cleaning cuts at 90 degrees to the felling direction
- Debuttess in a logical sequence taking into account the highest and lowest ground
Visualisation – what is level?
Most tree felling cuts are demonstrated and taught to be level, not aligned with the ground or neighbouring trees all of which can be at various angles out of level. I guess this is because it provides a common reference point that is repeatable in various body positions around the tree. Interestingly, when utilizing cuts at height in a tree pruning context, there is much greater flexibility of position for cuts.
Building a spirit level into a chainsaw is a frequently suggested modification – of course, it wouldn’t work due to the vibration but I sometimes use a handy scaffolding level to help
- Define what is level in terms of sink cuts
- Magnetically attached to the guidebar helps illustrate when it’s level
- Build awareness of your tendency to be out of level and the reasons for this
Another method is to visualise a marble on the guidebar and send it to each extremity, then back to the centre. Often poor body position is the root cause of problems here, with the guidebar tip dropped, due to a stooped stance and/or not switching to thumb on trigger from finger.
Visualise a grid projected over the stump lined up on your sink and felling direction. Use this idea to help place your body and saw in line with it.
A previous cut stump of good quality next to the tree you are felling acts as a visual prompt if the cut sequence is challenging to recall.
Aircraft analogy
Aircraft engineer Dave Lowe was a previous student on many courses and during a discussion of split level cut sequence he clarified the possible directions of a chainsaw guidebar as if it was an aircraft, so we have -
- Pitch – is the guidebar climbing or descending? Release the throttle and lean back, minor errors can be corrected early on.
- Roll – is it tilted to one side? If so undercutting the sink can be a risk.
- Yaw – is it angled left or right – this is critical for accurate hinge formation.
This might help later on when building accuracy in sequence
Body position - are you low enough/crouching comfortably?
Good body position and awareness is a prerequisite for achieving accurate cuts. It facilitates cutting at a suitably low level whilst maintaining decent visibility and saw support through optimizing limb angles. Even lacing your boots to allow anckle flexibility can be a help – check out the arbotech video on this.
Saw drift in bore cuts
Chainsaws also have a tendency to move towards the kickback zone when used in a bore cut, unless you are aware and properly braced this can be an annoyance or calamity if your hinge gets wiped out and your saw crushed under the full weight to the tree! Become aware of this sideways pull and brace the body to counteract. Think about options to make a bore cut from the left or right.
Mark then cut
Measure twice and cut once is a much-used phrase in carpentry, it applies to tree felling although the measurement might be less exact.