Tree felling typically takes place in areas where there are other trees: forestry thinning, clear felling, coppice work, or field edge removal are all such examples. In an ideal world, our target trees can be felled into a clear space, or at least enough canopy space or pliability to reach the ground where processing of the branches and stem can continue. This is efficient, cost-effective, and often more satisfying than when the inevitable hung-up tree occurs.
We call them hung-up trees (HUT), but of course they aren't hung up - they are caught up on adjacent trees. The level of resistance to our target tree eventually falling to the ground exists on a continuum, from barely any force or hinge removal required to requiring a large forestry machine to be deployed. The range of chainsaw techniques required to free our tree from the adjacent canopy is extensive, and students often find this section of our professional tree felling courses bewildering. Add in some bigger tree dimensions, a wider range of ancillary equipment, and the choices and decisions multiply.
This skill set is required in the City & Guilds NPTC and Lantra Awards units on small tree felling, City & Guilds NPTC Unit 202, and then on felling over 380mm with the addition of a hand winch demonstration by the candidate.
I've often started to draw up a flow chart or decision support diagram to help students with this task, only to find that it's complicated!
Before we start - how hung up is the tree really? Can it be processed even though it hasn't quite reached the ground? Low tree angle, protective features such as adjacent substantial tree stems, and dynamic assessment can all combine to allow processing to continue - within limits on height (not over shoulder height) and ensuring adequate escape route options and dynamic stance. This is an important theme we'll come back to at various points through this journey.
Key Principles for Hung Up Tree Management
What are the key principles that can be applied to any tree that, when felled, refuses to fall to the ground and requires some intervention?
Safety – Obviously we need to remain safe whilst assessing and working on our hung-up tree. A good start is to remain at a safe distance following the felling cut conclusion and our prompt escape along a pre-prepared route. This caution may well precede the easiest hung-up tree of all - the one that, after stalling, soon resumes its path to the ground without intervention. Sadly, on an assessment, you can't count this tree - unless you carry out some cuts to reduce the hinge before it falls!
Essential Principles:
- Think then act
- Do the easiest technique
- Avoid or minimise kickback
- Avoid trapping the saw
- Keep all your kit accessible as the removal process moves on
- Get help if required
HUT Assessment and Planning
From a position of safety (and this is a question asked twice on the City & Guilds NPTC Unit 202), the next logical step is to assess the tree with a view to forming a plan of action. This plan could include the decision to cordon off the area and seek expert help or more powerful machinery. However, you can likely decide on a course of action that will release the tree based on your assessment of:
Hinge – Look at the hinge and check if it is well-proportioned, intact, or damaged.
Working/Safe zones – Have they changed at all? Perhaps the tree has changed direction and the well-prepared working zones are all off at 90 degrees. Or maybe there are multiple trees acting as barriers protecting you from movement.
Will it roll out left or right, or is it stuck in a fork? Not always straightforward to decide. This might be your best guess.
From here it might be as simple as cutting away most of the hinge to facilitate a roll or following on with a felling lever to increase the turning force. At the other extreme, there could be some stump preparation, fetching a winch and ancillary equipment, then a letterbox cut, peg removal, and a pull backwards. Let's have a look at a few of the options in detail. For the moment, we will assume the tree is angled such that working on the stem would be dangerous.
Following the above assessment, you've decided the tree is safe to work on and it will most likely either:
- Roll out to the left
- Roll out to the right
- Not roll out at all
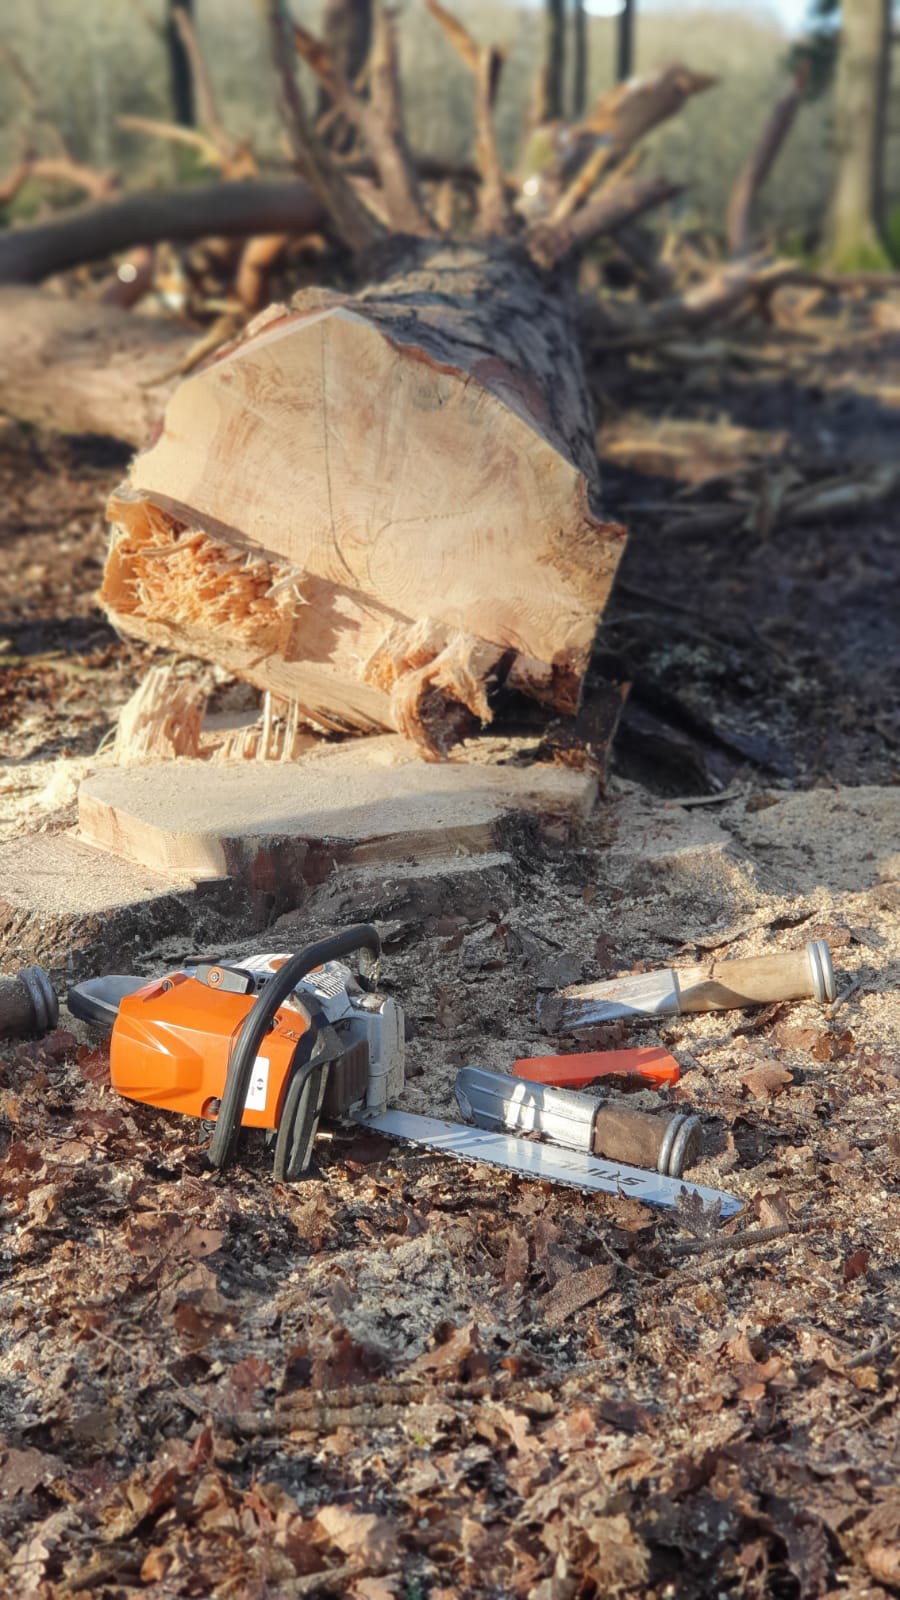
Stump Preparation
Of course, there may be some preliminary stump preparation steps to consider. We generally introduce these after the basic hinge removal rollout technique has been covered - although out of sequence, it's less to absorb at the start of the tree felling training curve. For now, let's assume:
- The tree is at an angle far enough to give visibility and access to the hinge, or you have decided that access is not required
- The cut is simple and no dog's tooth sticks up
- You are not planning on pulling the tree backwards directly off the stump
We will return to the stump preparation options.
Basic - 80/20 Cut
The 80/20 is the first technique we teach in our chainsaw training courses and is simply the removal of 80% of the hinge on the side where the hinge is more than likely in tension - that is, the tree will roll out away from where you are cutting.
If the hinge is already failing, this is often a good indication that you should continue to remove from that side.
The optimum guide bar position is flat with the back cut, engine up, moving through the hinge, adjusting the angle of the bar in relation to the hinge to minimise kickback as follows:
- When cutting from the right side, introduce the lower part of the guide bar to do the work, avoiding the kickback zone
- Cutting from the left is easier; the lower part of the guide bar sits more naturally in a position to cut through the hinge away from the kickback zone
We usually teach this as a progressive burst of saw power at a time; however, it can be done from the back cut in one movement to release the 80% in one go. Remember that progressive is safer from trapping, allows a retreat if the roll is towards you, but cutting all at once can generate a more dramatic release due to the increased momentum.
Three Possible Outcomes from the 80% Cut
-
The tree rolls out without assistance at some point from the outside of the tree to the 80% hinge cut - happy days, job done! Continue to process the tree and sever the remaining peg if attached.
-
The tree rolls counter to the plan and puts some pressure on your bar as you cut. Continue to cut the hinge and open the 80% cut up a little to give more space to the guide bar and allow the tree to roll on the inside, or use the felling lever to force the tree in the original direction.
-
The tree remains in position on the remaining peg. Use the lever to roll the tree out.
20% Peg Removal
If this rolling out fails to release the tree, then you are going to move on to complete hinge removal using a pencil cut on the remaining 20% of hinge. Do this with a 45-degree cutting angle as if you are sharpening the tree as a pencil, generally progressively from the outside to the inside to minimise the risk of trapping the saw. If the tree releases before all the peg is severed, then move away to re-evaluate - you can always continue with the technique.
Cut from the side that allows best access to the remaining peg with minimal removal of material. Choose a body position that maintains saw control, awareness of the tree movement, and rapid escape.
Alternative/Advanced Hinge Removal Option - Letterbox Cut
The letterbox cut is a more advanced option for hinge reduction and removal. It is best applied in a bigger tree where there is room for all the cuts to be developed, so look for at least 3× bar width across the hinge.
Rather than work from either side, the centre is removed first using a bore technique that leaves around 10-15% of hinge peg on the left and right.
Benefits of the Letterbox Method:
- Reduced risk of trapping the saw when you're not quite sure of the tree roll direction
- More dramatic movement when the pegs are severed
- If the tree is of a bigger diameter, then rolling with a felling lever is unlikely to be effective, so winch sling placements become more flexible with this method as well
The letterbox cut is initiated from the left side of the tree with the bar flat on the back cut, and a slot is cut out with the lower bar tip area. As the saw extends through the hinge to the sink area, be careful not to dive into the sink base and move the saw left and right to extend this initial cut. Ideally, the saw can tilt up and down in a very flat letter X, resulting in a slot that's wider than the guide bar width. With all the tree weight bearing down on this hinge, there can be some compression of fibres.
The pegs can be formed at either fully 90 degrees to the hinge or a slight angle (easier body position), but whatever you do, be careful not to reduce these pegs to the extent that you pinch your saw!
Now you are in a similar position to the 80/20 but with a choice of pegs to cut at 45 degrees. If you close the wrong one, it's less consequential as the peg removal technique shouldn't allow much scope for the bar to be crushed.
Winch slings can be applied before or after pegs are removed and roll out attempted - just ensure they don't drop down into the path of the saw chain.
Hinge is Severed Completely - Tree is Off the Stump - Pole Out
With the hinge removed, the tree can be walked out using the leverage afforded by the use of a pre-prepared small diameter pole of 2.5m in length. Best to point one end to give secure purchase in the ground. Remove all branch stubs as this will be handled and may slide near your body.
Put the pole point first slightly under the tree stem and lever from the end (a bit like a rowing action) or push the lever away. Avoid pulling towards yourself.
If the tree is stuck, a felling lever can sometimes be more effective in sliding the tree off a stump. Root buttresses, surface roots, soft ground, and other obstructions all hinder the progress of this poling technique, so take your time and bear in mind manual handling principles.
Perhaps the tree will zigzag back as you switch sides in response to the angled movement.
Winch Recovery
What if this pole out technique is a non-starter? Or maybe it stalls after a couple of metres. It's time to get the winch out, and to that end, a winch is an essential part of your kit in small and medium tree felling. It should be available without entering a danger area - send a helper whilst you wait by your tree. The winch options in brief are:
Hand winch – Tirfor/Lugall types are handy, portable, and reasonable cost. The downside is the limited cable length, having to overcome the tree inertia on every movement, and effort required. Power: 400kg – 3,200kg.
Powered – EDER petrol capstan or similar with 100m fabric rope can give longer, safer set-up options or 2:1 or even 3:1 mechanical advantage. Easy redirects and power in the range 1,200-3,600kg.
Tractor – 3-point linkage mounted power take-off skidding winch for effortless pulling power at high speed. Power in the range 4,000kg to 8,000kg. Durable wire 70 – 100m.
For more detailed information on assisted felling techniques, see our comprehensive guide on assisted felling with winches.
Forestry Machine Recovery
Options on some sites may include forwarder, harvester, or 360° excavator base machine with grapple that can position to lift, pull, and turn to recover bigger trees or smaller ones faster.
Bad Practices
Most of the above is looking at what to do with a HUT. In the City & Guilds NPTC schedule, there are questions about the bad practices that you should avoid:
- Work in a danger zone – in front or behind
- Fell the supporting tree
- Fell another tree into the HUT
- Climb it
- Leave it – without taking some action to safeguard the site
These techniques require a little discussion as at first sight they seem so obviously dangerous and easy to dismiss as ridiculous, yet there are examples of operators being killed or injured using them.
Step Down Options
Interestingly, the step-down method was moved from the list of bad practices to the list of possible options.
This method is widely used and is where a section is cut at or near the base with the intention of freeing the caught canopy and bringing the tree to the ground.
Use of the step-down method does require some thought and planning and best fits where the tree is at a low angle, making the likely fall direction predictable. Cuts can be deployed below shoulder height at a product length (generally 3m for our sites), and cuts can be deployed to make the movement controlled. A viable working zone and escape route needs to be maintained at all times.
Ideally, the step-down technique can facilitate the continuation of an approved technique (winch/pole) and is handy when a stem drops into a root buttress pocket or pushes deep into soft ground. How to do it is not referenced in City & Guilds NPTC or Lantra Awards documentation, but it is referenced in the Husqvarna advanced chainsaw manual.
Professional Training in Sussex and Kent
As with all these practical chainsaw techniques, they can't be learnt on an intellectual level alone - they need to be practiced with professional instruction. This blog is only suitable as a supplement to your professional chainsaw training!
For comprehensive training in hung-up tree techniques, consider our:
- City & Guilds Unit 202 - Chainsaw Maintenance, Cross Cutting & Felling
- Medium Tree Felling Course
- Felling Trees over 380mm training
Our arboricultural training centre in Kent provides hands-on experience with all these techniques in a safe, controlled environment under expert supervision.
And as for that HUT flowchart - it's coming soon.