This sixth article in the series looks at the dog-tooth felling cut (also known as the bore & sever) in more detail, including its range of application.
Remember, this written article is no substitute for the personal delivery of tree felling skills and should be seen as supporting that primary personal delivery. In short, whilst this cut is not that complicated to learn, it is essential to make the cuts from safe positions and have a prompt escape to a safe position to reduce the chance of being struck by any splits that develop.
As previously discussed, this cut is ideally suited to trees with a significant forward lean or with a biased canopy where the use of a standard felling cut would more than likely result in the tree either: at best moving before an ideal hinge was formed or at worst splitting up the stem (so-called barbers chair).
The risk of a tree splitting is one of the most significant safety points we talk about in our training courses. Here, the initial tree assessment and decision to use a dogtooth cut could be the most significant decision in mitigating these risks. In contrast, for trees with backwards lean, the incorrect cut is more likely to result in inefficiencies than danger.
Students returning for refresher training generally remember this cut; perhaps the safety implications and emphasis make more of a lasting impression.
Using a dogtooth cut where the forward lean is minor can work, albeit with a less dramatic or defined “break’ when the final cut is deployed. Using where the tree has been incorrectly assessed as forward-leaning can lead to difficulty developing the required leverage with wedges or felling levers.
Of course, all of this is subject to detailed tree, species and site assessment beyond this article's scope or any written description of a practical skill.
As with all felling, prepare the tree and immediate area for felling via brashing, removing or cutting material in the way and thinking about the intended route of the tree – remove any smaller material likely to deflect or cause low-level hang-ups.
- Confirm the tree diameter is at least three times the width of your guide bar
- De-buttress or clean the sides only provided there are no signs of decay. On no account remove the rear buttress flare, as this forms the hold that will be cut last.
- The directional sink is formed with two cuts that meet; it has an open or angled face around 55-60 degrees and a flat base; ideally, the sink extends to 20-25% of the tree diameter. It is formed at 90 degrees to the felling direction. Don’t overcut, and remember to use the saws felling sights for directional accuracy. On heavily leaning stems, physical access can be limited, visual clarity can be impacted by the extreme lean, so take time to get this right.
- Deploy accuracy aids as required, such as straight sticks or mark the clean-cut side surface with hinge & bore cut positions.
- Bore through the centre of the tree away from the desired hinge at first, then move forward to form an accurate hinge of the usual dimensions. Be aware of the saw pull or walk towards the kickback zone, brace as required to control this force and maintain a straight trajectory. If completed from the left, this force takes the saw away from the hinge.
- If desired and via a safe route, check the cut position from the other side, but avoid going back and forth; this ignores the main risk that the back of the tree may break out and move suddenly.
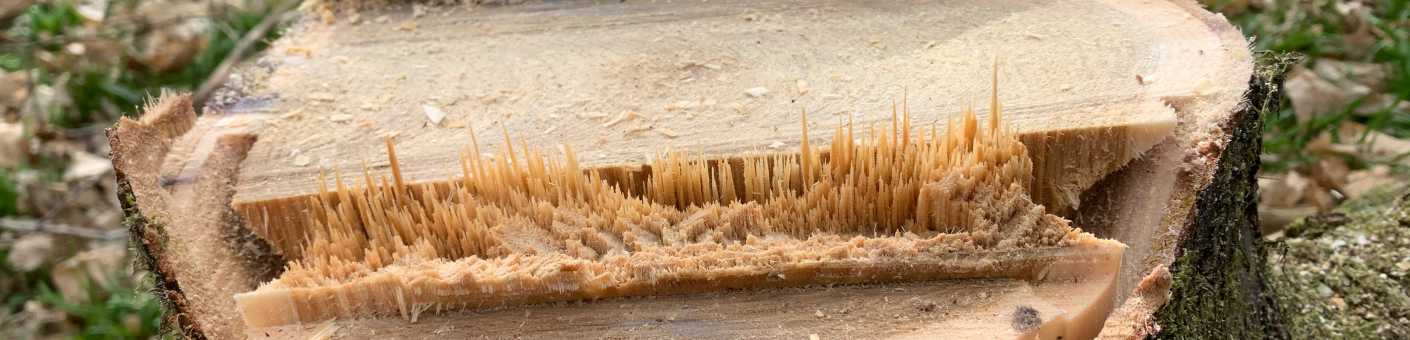
- Cut the remaining rear section of the tree at an angle of around 45 degrees to meet the bore cut, severing all of the strained holding fibres. Try to get this cut lined up to be parallel with the sink, hinge and bore cut, and make it flat. Body position should be dynamic, ready to escape and avoid the danger zone directly behind the tree.
- When the tree starts to fall of its own accord, retreat promptly using the escape route; if you can bring the lever if it’s stuck, then escape without. This teaches an important principle about the value of kit versus personal injury.
Students generally pick this cut up quite readily but often can’t entirely control the saw even though they know what the cut should look like.
As with the split level, chain rotation can pull the saw towards the kickback zone on the upper portion of the guide bar nose; this can easily wipe out the hinge during the bore cut and result in a crushed guide bar and trapped saw. Guard against this force and maintain spatial awareness of the guide bar in relation to the hinge – practice in a non-critical felling simulator.
If the hinge is too thick, this can result in a split, as the tree de-laminates at the point behind the hinge and the split progresses up; this can be dramatic.
The final severing cut may not be entirely lined up; this can steer the tree to the side where holding wood remains.
