Standard Felling Cut
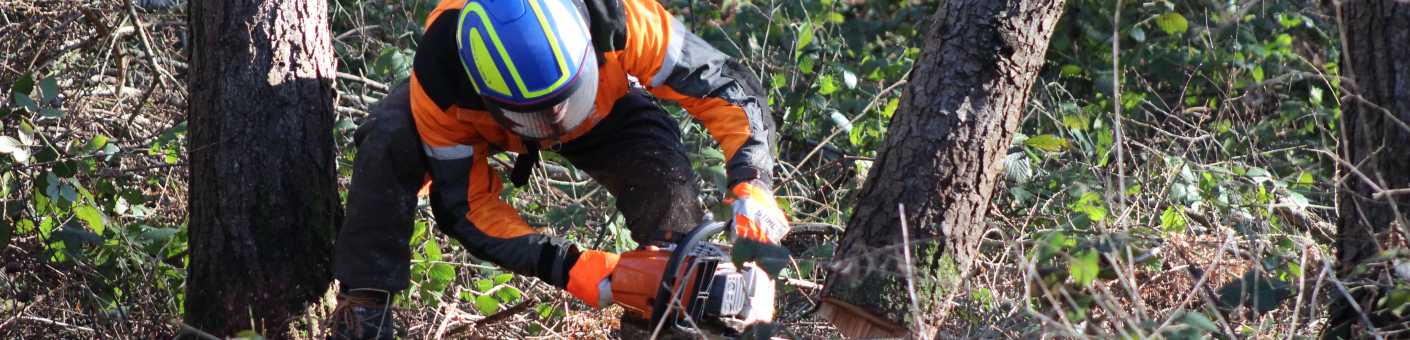
Felling Trees up to 380mm - City & Guilds Unit 203 Part 4
This fourth article in the series looks at the standard felling cut in a little more detail, including its range of application.
As previously discussed, this cut choice is suitable for upright trees, that when assessed from a variety of positions, would fell in any direction. The basic cuts required to fell a tree are a directional sink and a back cut.
Prepare the tree and immediate area for felling via brashing, removing or cutting material in the way, and thinking about the tree's intended route – remove any smaller material likely to deflect or cause low-level hang-ups.
- De-buttress the tree if there are no signs of decay or clean the sides if improved visual clarity is required.
- The directional sink is formed with two cuts that meet; it has an open or angled face around 55-60 degrees and a flat base. Ideally, the sink extends to 20-25% of the tree diameter. It is formed at 90 degrees to the felling direction. Don’t overcut, and remember to use the saws felling sights for directional accuracy.
- The second is a back cut, which severs fibres to leave a parallel strip of uncut material – the hinge provides strength and stability as the tree falls to the ground. This should be around 10% of the tree diameter and not less than 25mm for the typical small trees felled on these elementary courses.
Issues around sink cuts are relatively common, perhaps because this cut is seemingly so simple. In addition to the range of accuracy ideas explored in the previous articles, we often encourage students to make multiple horizontal sink cuts, effectively removing the material as sawdust rather than a little wedge. This is a great way to reinforce a few cut accuracy basis, such as:
- The chain cuts a surprisingly wide kerf or slot.
- If you cut less then you can correct on the next cut.
- Overcutting is less likely due to improved visibility.
- The chainsaw is seen more as a precision tool.
Remember to aim the sink accurately, get it low to the ground and level. If the angled or horizontal cut is excessive, the hinge will be smaller and weaker at best or could be non-existent!
Side cuts can be used to reduce tear-out on bark and sapwood; this problem ranges from a cosmetic one with tears in the produce to a safety issue where tears on more giant trees can pull out connected root buttresses, impeding prompt escape from the falling tree. On coppice stools, the damage can inhibit effective shoot regrowth and impact on the coppice stool viability where excessive.
The back or felling cut can be made from either side using a pulling or pushing chain. Be sure to mark the height at which the cut starts, aiming for midway between level and around 25mm above the base of the sink. It’s good to practice from both sides, as there will always be a situation that allows only one option.
Have a plan for maintaining the guide bar parallel to the sink and stop cutting to form a hinge of around 10%. A plastic wedge can be placed in the kerf partway through the cut to maintain an open kerf and facilitate felling lever use if needed in larger diameter trees.
If the tree falls without leverage, then chain brake and retreat along your prepared escape route to a safe position – keep an eye on the tree so your escape can be adapted if necessary. If the tree does not fall, then use a felling lever or wedge. If the tree sits back, then options include driving a wedge into the back cut or cutting a small slot to start a wedge or lever if this is not possible.


