Timberwolf Brushwood Chipper blade change – Lantra ITA Brushwood Chipper
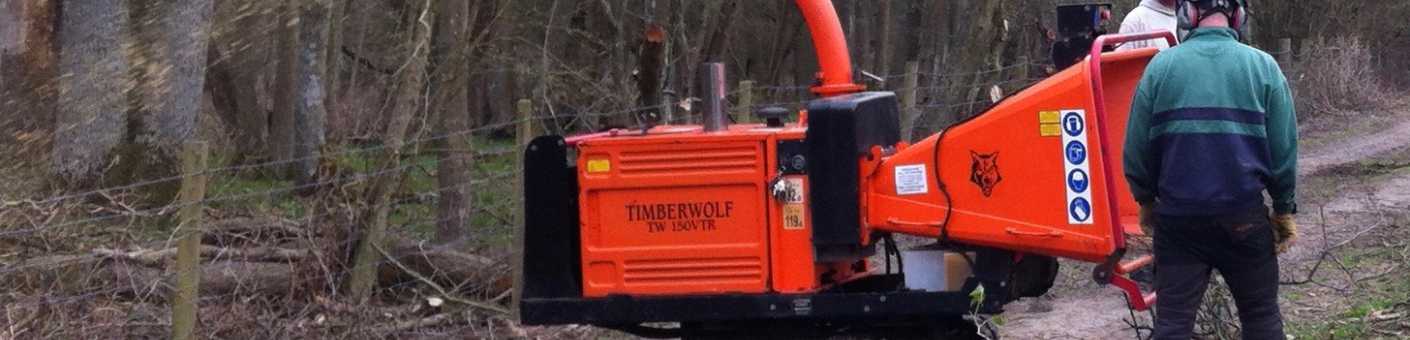
Brushwood chipper blade maintenance is covered on our Lantra ITA courses, and we generally use a Timberwolf 150DHB road towed machine as it’s fairly representative of the machines our clients have as either tree surgery contractors or will likely encounter entering the industry.
Some clients prefer to bring their own tree surgery machinery to our courses, which we can cater for with ease. Typically we mostly see Jenson, TP, Carlton and Forst machines.
This blog outlines the steps to change the blades on the Timberwolf 150DHB and covers some of the more extensive maintenance safety requirements and blade defect symptoms that should be noted.
How do you know that blades need changing?
Typical symptoms include loss of tree chipping efficiency, increase in more extended stringy material discharged and regular blockages. Manufacturers may define an hour of use interval to check or change blades, but a visual check is the best way to determine condition .
The starting point for any tree surgery machinery maintenance is safety. The main risks arise from hot parts, moving components or sharp edges/crush hazards plus contact with any fuel/oil coolant used in the engine or drive system.
Before carrying out any checks or maintenance, complete a SAFE-STOP, meaning ignition key out & engine off. You should also engage any other emergency stop switches. Choose a level piece of land to perform your safety checks, ideally with plenty of light and have all the tools required to hand. In addition to a range of spanners including a 17mm, 19mm and no50 Torx torque wrench, a flexible magnetic part retriever can also come in handy for anything dropped into the cutting chamber!
On this Timberwolf machine, the blades are accessible via a side panel on the chamber containing the flywheel. The flywheel is not easily removable until the plastic guard is either swung back or ideally removed completely for which there is a long bolt on the nearside to do this.
The feed roller box also needs to be moved upwards, towards the upper end of it’s range of movement and blocked with some wood packing. Watch out for trapped fingers here and remember to remove the pair of springs on either side. With the side panel now more easily accessible it can be removed and the flywheel rotated carefully bringing the inner and outer blades into view. There is a real risk of cuts and crush injury here especially the outer blade as it moves into view, so consider moving the flywheel via the drive belts with flat gloved hands.
Three small screws secure the blades with a Torx fitting recessed into the blade. Typically, you'll find that these have filled up with debris that needs to be thoroughly cleaned to ensure a positive fit. It makes sense to replace these screws if there is any hint that they might be wearing.
Once clean, use a Torx fitting and apply pressure to the wheel to minimise slippage while using the top of the housing cut out to lever against. At only 45ft/lbs, they should not be difficult to remove.
A handy hint given to me by Ted, a former Orange Plant engineer, was to lightly grind the face of the Torx fitting as the tapered shape will mean it can grip the worn screw head, and get it out.
Once removed, being careful to prevent any parts falling into the chipping chamber, place the screws in a container to avoid losing them. At Scott Fraser Training, we use a magnetic tray and then inspect the chipper blades.
Key points to look out for:
- Are there any cracks or fractures? If so, discard the blade and check for any associated damage.
- How much life is remaining for the machinery? Check the wear level and ensure it's not above the wear line)
- Are the blades replaced in sets & balanced?
The housing needs to be clean, as do any blades that are being replaced. If they have been professionally sharpened by a professional, they usually come back clean.
Your new blades will now be ready for fitting in the housing with a little copper ease on each screw. Ensure that these are done up in sequence to the man recommended torque of 60Nm, this time utilising the bottom of the cut out to lever the torque wrench on, again applying inward pressure. Always double check them to ensure that they are not over-tightened.
The cover can now be replaced, roller box faces greased and then lowered and the plastic guard refitted.
Remember that blades are only half the story – keep an eye on the Anvil and counter knife as these can also wear.
We hope that this step by step guide provides you with useful information for your next brushwood chipper safety and maintenance check, but please get in contact if we have not answered a specific question of yours.
All of our training team are Lantra approved arborist instructors. Get in touch to get yourself booked on to one of our many courses including chainsaw training, tree cutting courses and LOLER inspection courses.
